Today we’ll perform a Laravel image resize using Intervention’s Image package. It makes image resizing, cropping, and saving easy.
Install Via Composer
# Laravel v9 w/Sail
./vendor/bin/sail composer require intervention/image
Integrate with Laravel
Copy over the config file
./vendor/bin/sail artisan vendor:publish --provider="Intervention\Image\ImageServiceProviderLaravelRecent"Edit The “config/app.php” File
Add this to your "providers" array.
Intervention\Image\ImageServiceProvider::classAdd this to the “$aliases” array.
'Image' => Intervention\Image\Facades\Image::classBegin Using
In the PHP class file (model, controller, etc.) of your choice, put this in the “use” section at the top.
use Intervention\Image\Facades\ImageStart resizing images
// use an image from your server or on the web.
$image_location = "http://www.domain.com/mountain.jpg";
$image_location = "/var/www/laravel/storage/public/images/mountain.jpg";

// create an image instance
$img = Image::make($image_url);

// set your save folder
$folder_path = Storage::path("public/images/");

// save as a backup so we can resuse this as we resize
$img->backup();

$img->resize("500", "500", function ($constraint) {
        $constraint->aspectRatio();
    })
    ->sharpen(10)
    ->save($folder_path . "mountain_large", 70, "jpg");

// reset to the backup
$img->reset();

$img->resize("250", "250", function ($constraint) {
        $constraint->aspectRatio();
    })
    ->sharpen(10)
    ->save($folder_path . "mountain_medium", 70, "jpg");

// reset to the backup
$img->reset();

$img->resize("125", "125", function ($constraint) {
        $constraint->aspectRatio();
    })
    ->sharpen(10)
    ->save($folder_path . "mountain_small", 70, "jpg");
Final Laravel Image Resize Result
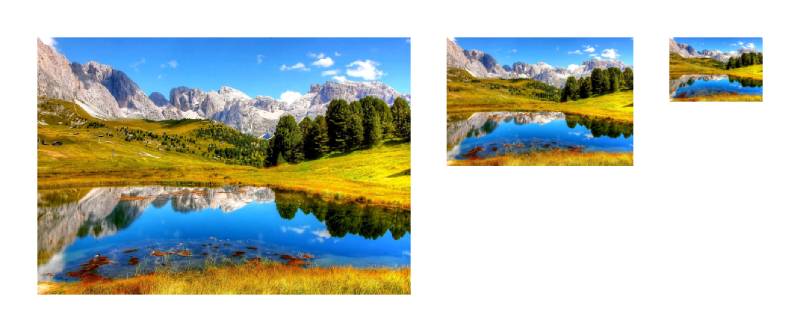
You’ll end up with images that look like this.


